this is a page for
Category: Instructional

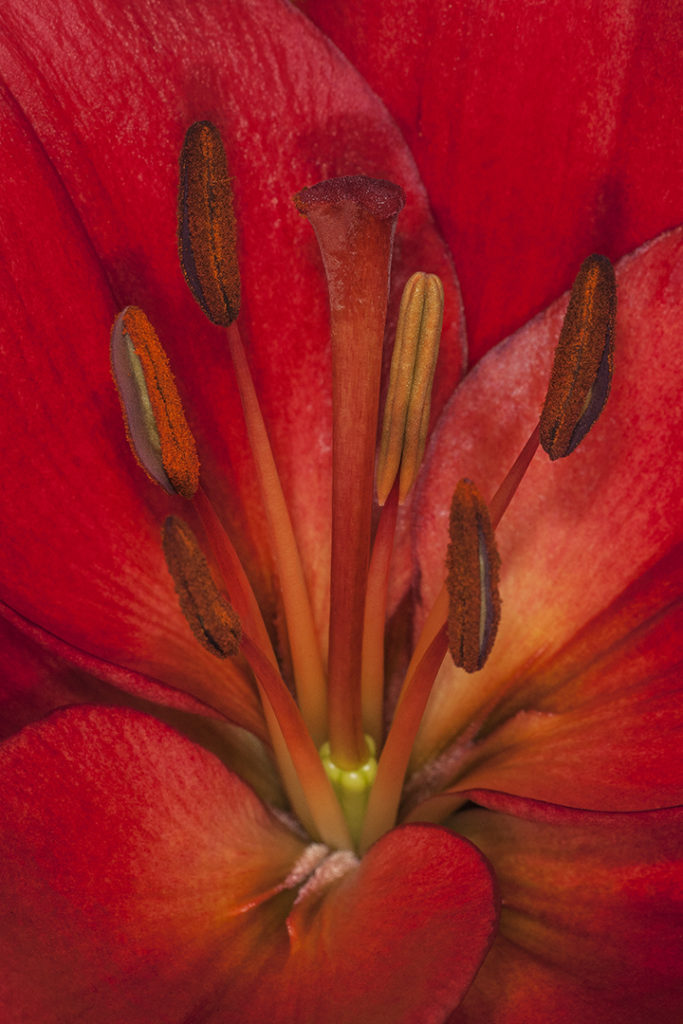
Whether it is a dramatic sunrise/sunset or a beautiful red flower, the color red is a challenging color to photograph. Why? In today’s digital photography world, most pros have taught you to push your histogram to the right edge without touching it and using your highlight alert indicator to show that you have no/very few blown highlights (aka blinkies). I teach this all the time on my workshops but did you ever take a picture with a lot of red, orange, or yellow in it and the color looked horrible even though your combined histogram looked perfect? We all have… and I really don’t have the answer as to why but I do have the solution for you. When photographing very vivid reds, oranges, and yellows, make sure you activate and check your RGB histogram. You will often see in these situations that your combined histogram looks perfect but the red (or sometimes the green) channel is clipped. Solution….underexpose until the channel is not clipping. Someone once tried to explain to me why this happens to the combined histogram but all I heard was the whah, whah, whah, whah, whah, whah Charlie Brown adult talk, In my opinion that shouldn’t happen but at least now you know the solution!

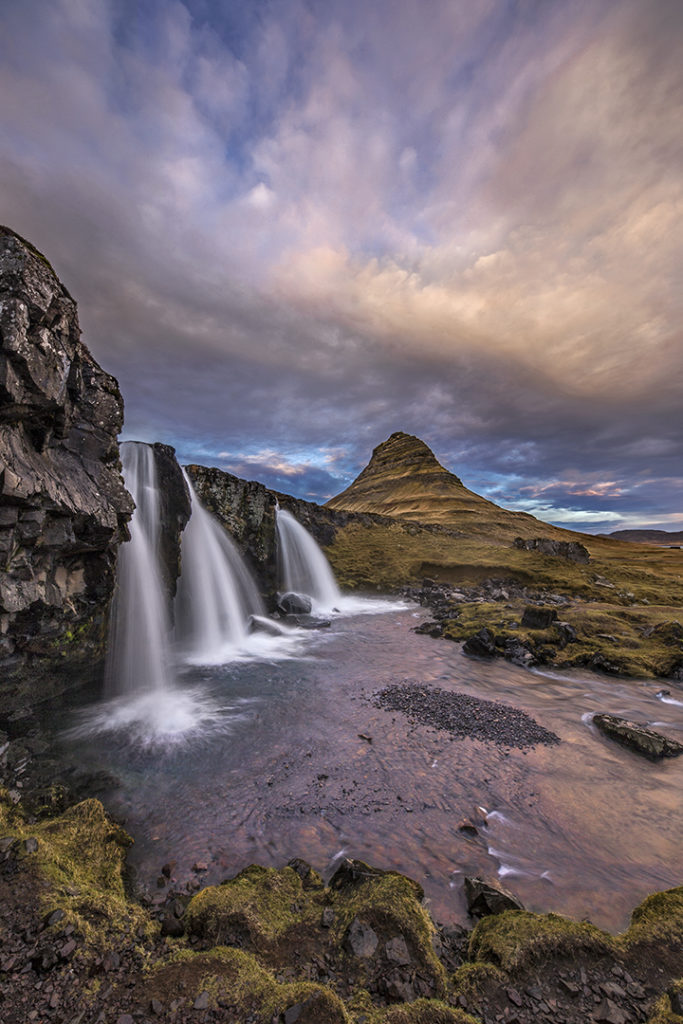
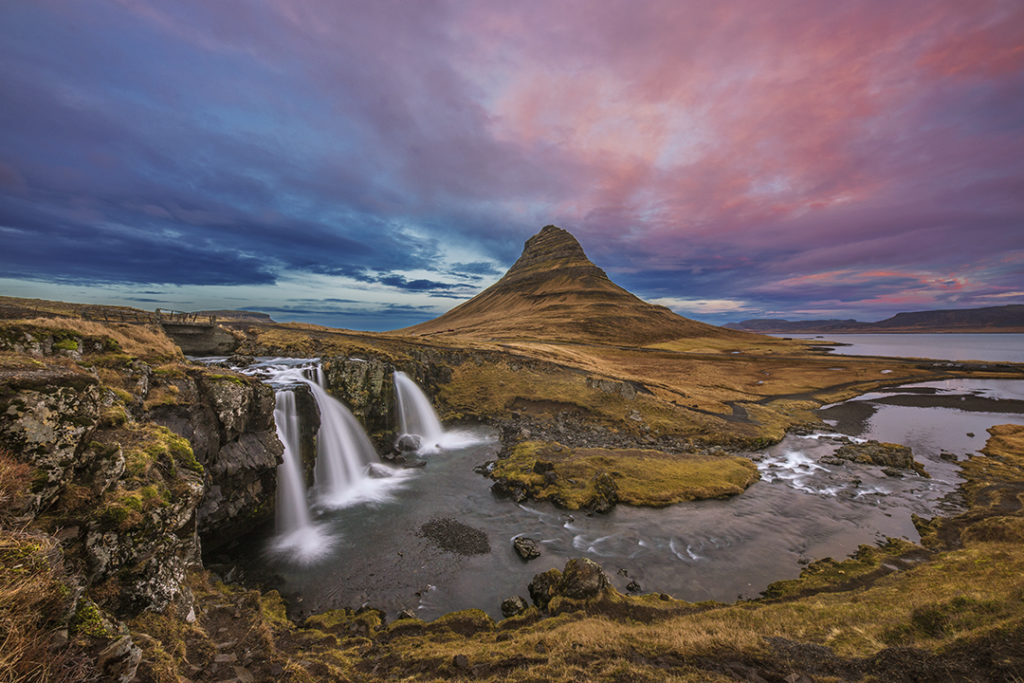
Many elements have an effect on the success of an image including color, composition, and subject, but it needs to have an immediate impact if it is to be truly successful and the most overlooked aspect of composition is composing vertically. It is by far my favorite element and combined with an ultra wide-angle lens and great clouds, makes the difference between average and spectacular. Compare these two images from my just concluded workshop to Iceland. The image below is from a higher vantage point at the falls of Mt. Kirkjufell with my new Sigma 12-24mm f/4 Art that shows the curve of the foreground and the entire scene with a pretty awesome sky I may add. I really like it but prefer the vertical image up top with the closer view of the falls and the sweeping sky! Why? To me the vertical emphasizes the form of the falls as well as the sky with both images at nearly the same focal length (the horizontal at 12mm and the vert at 13mm).

You should always consider shooting vertical out in the field and given that you have nothing to lose in the world of digital photography…. just take both versions and decide which you like best when you get home!
PS Magazine covers are vert!!!
